

For the first lesson in our (he)ART class at Two Peas in a Bucket, I did this layout which is going to the title page in our travel album this year. I already had the photo and some of the supplies out when I heard about the class; it was perfect timing.
I'm taking this class for 3 reasons:
1 - Late last year I took a short class on mixed media from True Scrap and visited several galleries in a nearby city. This left me really excited to do a few pieces for myself. However, when I browse the art supply section of Hobby Lobby, I'm totally bewildered by all the choices. How is gesso different from regular paint or modeling paste? What kind of canvas do I need? I end up leaving empty handed. This class focuses on art for scrapbook pages. I don't expect to learn everything about mixed media in one class but I'm already learning a lot. The Gesso question has been answered already.
2 - I want to occasionally do pages like this one with one photo, no or limited journaling and lots of technique. They are fun and I love seeing other people's work. As I've said before, the white space intimidates me a bit. However, you know my style is multi-photos, lots of journaling and big titles so...
3 - I want to add a little more artsy stuff to my regular pages. My traditional style likely won't change that much. Just want a little something to spice it up a bit.
So for this page, I created my own stencil using my Cricut. (More on that coming up in a later post and video.) Here is my stencil cut from an old sheet of 12x12 that I'd used for testing print placement:

In the class, Wilna shows us how to use a stencil with multiple inks. I'd never tried this before. My first effort turned out way too dark for the soft, early dawn look I wanted so I tried again and added a mask from the home stencil section of Michaels:
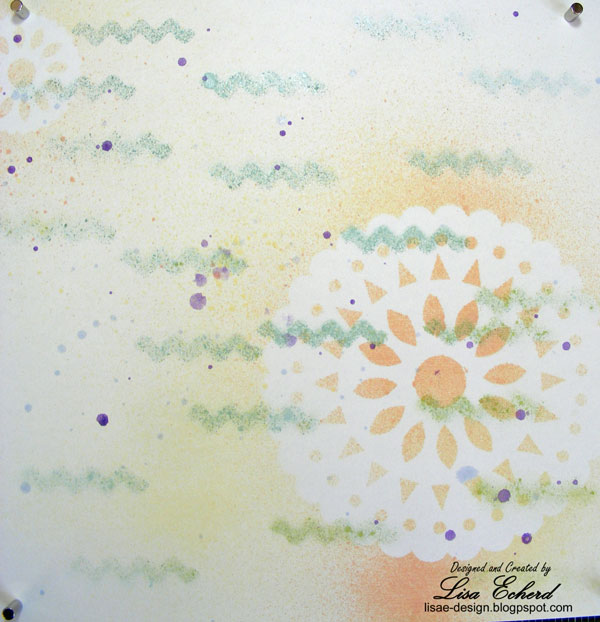
Since this is a title page, I wanted the year on it but didn't want it to overshadow the rest of the layout. I placed '2012' in stickers on the lower part of the page and then sponged white paint over them. After removing the stickers, you can see the year lightly in the background:

Then I added my matted photo and lots of layers of Washi and trims. I kept trying brads and they were just too heavy. So in the end, some heart shaped pearls won out.

'you' is stamped from Stampin' Up!'s Define Your Life set. Most of my mask got covered up but you can see it a bit here above the photo.

The scallop embellishments are stamped on Vellum and embossed in white. They were too stark so I flipped them over and used the reverse side.

This is the tiniest title I've ever done!
So there is my first page. I'm really pleased with it. I didn't put the location or date on there. We will certainly know it is Hilton Head and 2012. The date really doesn't matter. It is how we always feel at the beach.
Hope you are having a great crafty weekend!
Wow Lisa I love this page... I can tell your style different with this layout but I like it and more importantly you are happy with it... love the homemade stencil... I may have to borrow that idea and use some of my stamped on paper! lol! Thanks for sharing your process and inspiring me to get back to scrapbooking with that great layout! Kathi
ReplyDeleteLisa, you and Lenny look so very happy in this photo. I love that the layout is soft and doesn't detract from the two of you. It's a really special page. Thanks for sharing it!
ReplyDeleteLove your stencil and technique, perfect for this page. The open look really complements your photo with the open water in the background!
ReplyDelete